Your computer’s BIOS (Basic Input/Output System) or its modern version, UEFI firmware, is the low-level software that controls your hardware before Windows starts. Updating it can fix bugs, improve stability, and sometimes even unlock new features.
But here’s the catch: updating the BIOS is not like updating a regular program. If it goes wrong, your computer may fail to start. That’s why it’s important to do it the right way.
This guide will walk you through how to safely update your BIOS on a Windows PC.
When (and When Not) to Update Your BIOS
Update your BIOS if:
- You’re fixing hardware compatibility issues.
- Your motherboard manufacturer released a security patch.
- You’re upgrading to a newer CPU that requires BIOS support.
Don’t update your BIOS if:
- Your system is running fine with no problems.
- The update doesn’t apply to your hardware.
👉 Rule of thumb: If it’s not broken, don’t fix it.
Step 1: Find Your Current BIOS Version
- Press Windows + R, type
msinfo32, and press Enter. - In the System Information window, look for BIOS Version/Date.
- Note down the version and the manufacturer (e.g., Dell, HP, ASUS, MSI, Gigabyte).
Step 2: Check the Manufacturer’s Website
- Go to your PC or motherboard manufacturer’s support page.
- Dell/HP/Lenovo users → check your PC model page.
- Custom-built PC users → check your motherboard brand’s website.
- Enter your model number.
- Look for the BIOS/UEFI updates section.
- Compare the latest version with your current version.
👉 Only download updates from the official website—never from third-party sites.
Step 3: Read the Release Notes
Each BIOS update comes with notes that explain:
- What issues it fixes.
- What improvements it adds.
- Any special instructions.
Make sure the update is relevant to your system.
Step 4: Prepare for the Update
- Back up important files in case something goes wrong.
- Plug in your laptop (if not on a desktop).
- Close all programs before updating.
Step 5: Update the BIOS
There are three common methods:
1. Windows-Based Installer (Easiest)
- Some manufacturers (Dell, Lenovo, ASUS) provide an
.exefile. - Simply run it like a normal program.
- Your PC will reboot and update automatically.
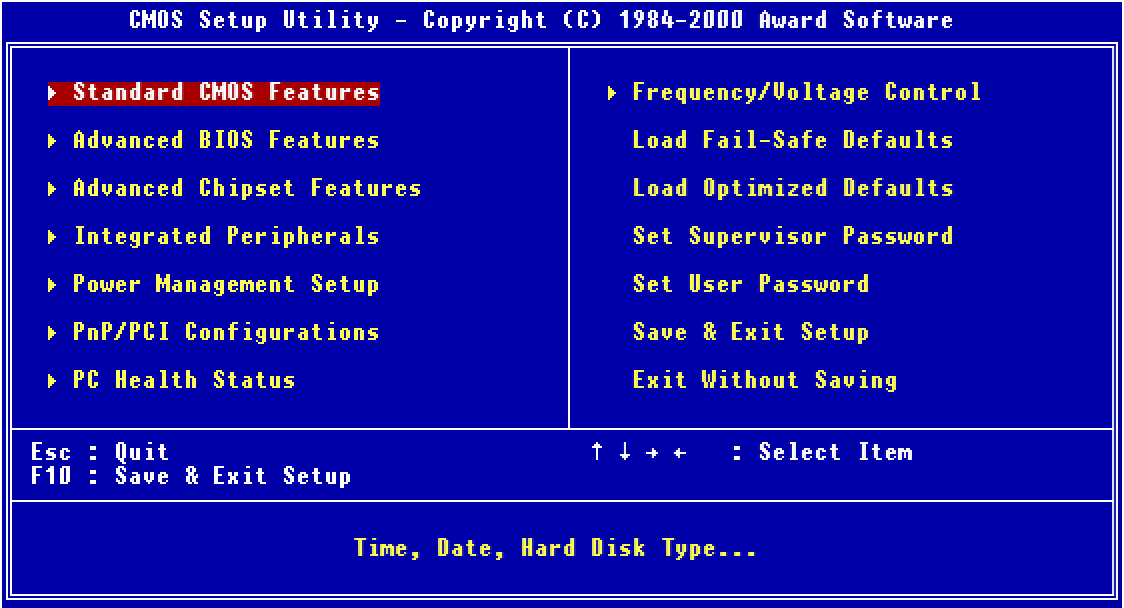
2. BIOS Update Tool (Built-In)
- Restart your PC and enter the BIOS/UEFI menu (usually by pressing Del, F2, or F10 at startup).
- Look for an option like EZ Flash, M-Flash, or Q-Flash.
- Point it to the update file you downloaded on a USB drive.
3. USB Flash Drive Method (Most Reliable)
- Download the update file and copy it to a formatted USB drive.
- Restart your PC and enter the BIOS/UEFI menu.
- Select Update BIOS or Flash Firmware.
- Choose the file on the USB drive and confirm.
Step 6: Let It Finish
⚠️ Do not turn off your computer during the update.
Interrupting a BIOS update can corrupt the firmware and make your PC unbootable.
Your system will restart once or twice during the process. Afterward, it should load Windows normally.
Step 7: Verify the Update
- Open System Information (
msinfo32). - Check the BIOS Version/Date again.
- Confirm that the new version matches the one you installed.
Final Tips
- Always use official downloads only.
- Don’t update unnecessarily—only when there’s a good reason.
- If your PC has a built-in backup BIOS (dual BIOS), recovery is easier if something goes wrong.
Updating your BIOS doesn’t have to be scary. By following these steps carefully, you can do it safely and keep your system running smoothly.